Friday, 26 December 2014

2 days on Fraser, day 2.

Day 2 - Start with the tides.

(are you looking for day one?)

A quick study of the tides and our deadline of a barge leaving at 5pm from Kingfisher Bay Resort goes a long way to dictating how we shall spend our day.

Low tide is 8:38 am, so the sooner we are on the beach, the more beach we will have. Using the app, we can see that at about 2 hours before high tide we will have a tide of 1.48m. That's only 3cm below the high tide of the night before - taking that into consideration we see that at 2 hours before high, there will likely be almost no firm beach to drive on.

Breakfast, load up and check out and onto the beach.
First stop is the famous Eli Creek.


Crossing Eli Creek is best done at Low Tide
Plenty of room for entertainment.
Eli Creek is always a popular stop, the creek is cool, clear and flowing and definitely worth more than just a passing glance. Park up and take a walk up the boardwalk and back down the creek, get out your chairs and chill.

4x4 4wd training AORA Fraser Island
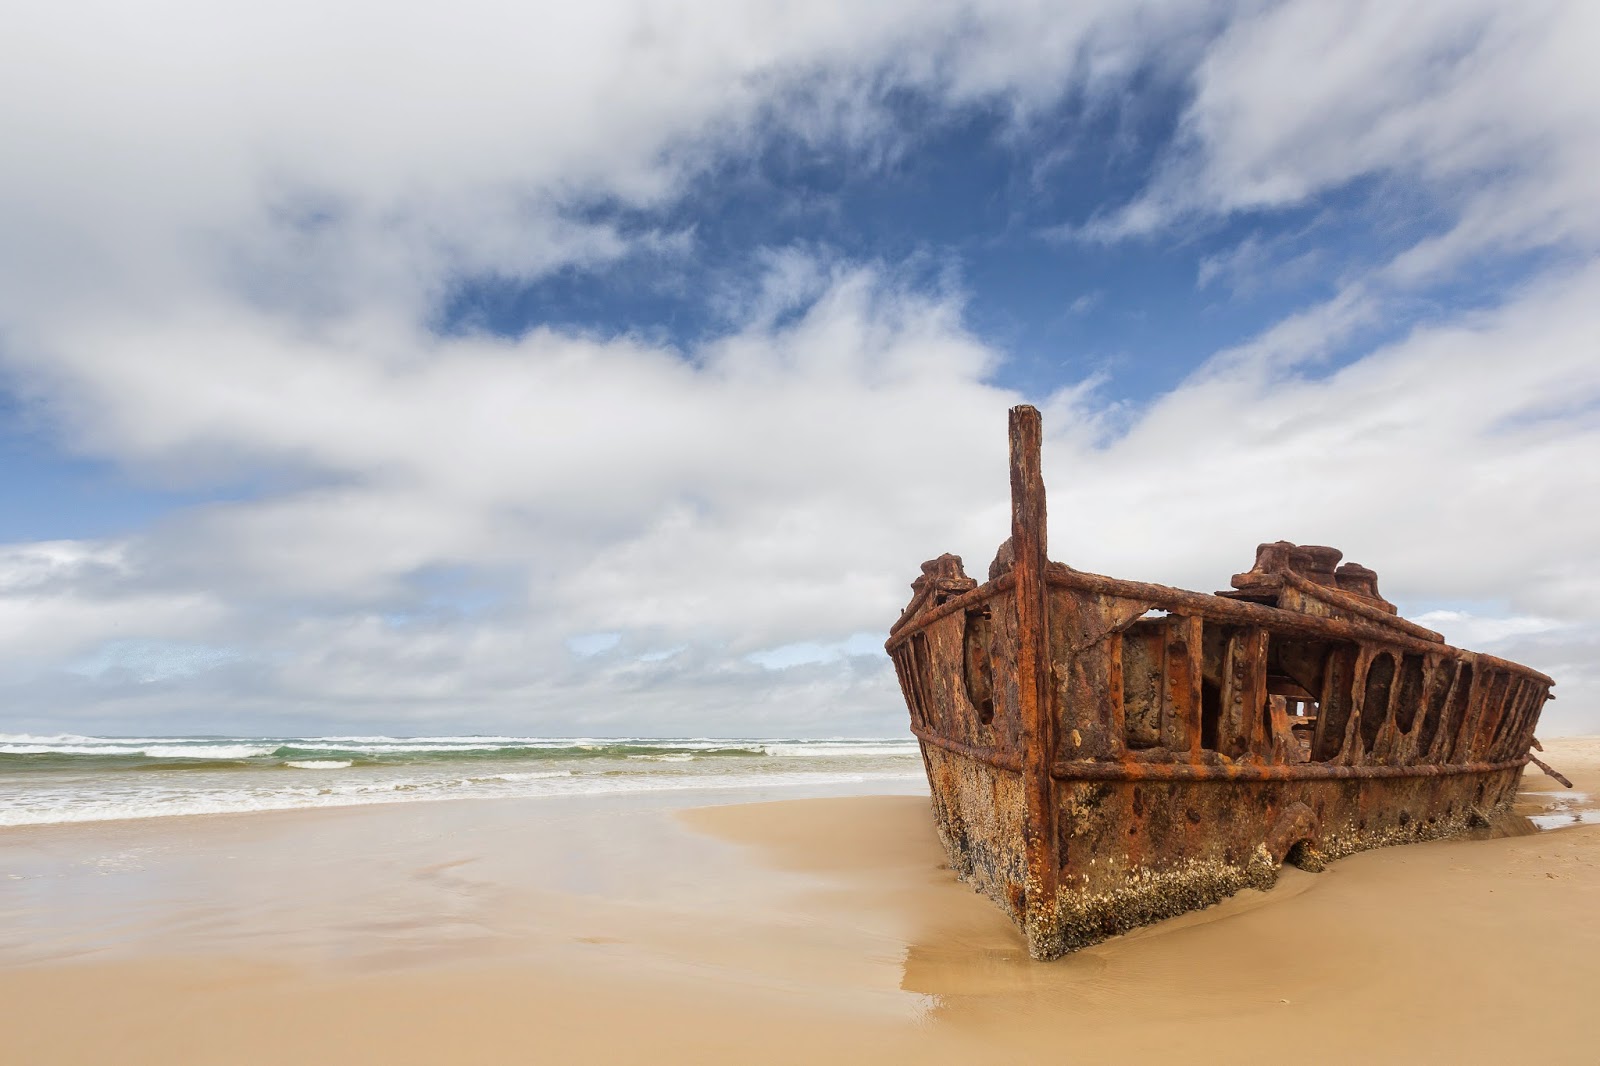
Maheno Wreck is just up the beach from Eli Creek
The ever changing face of the Maheno.

Just up the beach is the Maheno Shipwreck, we must have stopped here hundreds of time, but we will again. Watching the slow change of the wreck over time has been fascinating and always worth a visit to explore. The wreck is very unstable, please keep your kids off it.


The tide has been coming in all this time, and it's probably time to head for an Ice Cream at the Fraser Island Retreat (Happy Valley).


Cornwell's Break Road can be a bit rougher than most roads, but it's a worthwhile drive.

Lake McKenzie
Lake McKenzie
Back down the beach a little, and right onto the Corwell's Break Road - this a one of the rougher roads on the Island with exposed roots and reasonably large holes. We'll take this road halfway across the Island to Lake McKenzie (we are expecting it to be busy).


It will be getting well into the afternoon by now and time to head to the SandBar and Jetty Hut at Kingfisher Bay Resort. If you have to wait, and air up your tyres somewhere, this is the place to do it.
While you are waiting;
  • check out the resort
  • go fishing from the jetty
  • maybe even hire a Segway

At about 15 minutes before departure we will be asked to make our way down the Jetty (we drive forwards onto the barge, and reverse off) and onto the barge.
The trip back to River Heads takes about 45 minutes.


There's so much more of Fraser Island to see, 2 days doesn't go close to doing it justice, especially when the tides are 'awkward'.

We use Hema Maps, General Tyres, TJM Products, Goal Zero Solar, Xray Lights and have a great relationship with our friends at Kingfisher Bay Resort.

2 days on the World's Biggest Sand Island

2 days isn't much of a break, but it's still a break.

We've managed to squeeze a quick trip to Fraser Island into the gap between Christmas and New Years. Here's how we plan to spend it.

Make no mistake, it's peak time on the Island.

Day one

We'll sail from River Heads, Hervey Bay on the Fraser Venture to Wangoolba Creek.
Hervey Bay really is the stepping off point to the best bits of Fraser Island.


2 bedroom apartment
With only one night available to us we have elected to stay in a 2 bedroom apartment at the Eurong Beach Resort. We love it there, the buffet dinners and breakfasts in the restaurant are really good and very affordable. The rooms are always clean, the resort pool is a favourite with the kids and Eurong is ideally located for the beginning of a day on the beach.

Eurong Beach Resort


The kids votes were split as to what they would like to see and do (my kids know Fraser Island very well, better than most adults, even those who have been coming here for years (there's more to the island than fishing and XXXX .)
  • Maheno
  • Eli Creek
  • Champagne Pools
  • Fishing
  • Lake McKenzie.
  • Swimming
  • Central Station
Okay, with that wish list to work on we need to establish what's practical.
At Midday it's 1.57m
What are the tides doing?
Hmm, that's going to limit our movements a bit. We are on a 1015 barge to Wangoolba Creek, that gets us over to Eurong at about 1145... Just short of High Tide...
That pretty much rules out heading to the beach until late afternoon...

We'll stop at Central Station, (always a favourite, it's really worth a visit if you have always just driven past). Take the time to explore the information centre, including the collection of relics from logging - it's big on info, not so much on presentation. While at Central Station be sure to do the Wangoolba Creek boardwalk.

Southern Lakes Drive
After Central Station we'll probably turn south and do the Southern Lakes drive. The highlight on this track is definatley Lake Birrabeen, it's like a smaller, much less crowded version of Lake McKenzie. The southern lakes drive will bring us out onto the beach near Dilli Village after passing Lake Boomanjin (there is a great little campsite at Lake Boomanjin). 
Chocolate Croissants at the Eurong Bakery are a tradition.
The Southern Lakes Drive takes you through a variety of terrains and ecosystems, its a diverse and sometimes challenging drive.

By the time we arrive at Dilli Village, the tide will have turned and will be heading out. We'll complete the short 10kms up to Eurong and check into out room.
The kids will head to the pool I'm sure.
I'm heading for a coffee and chocolate croissant at the Eurong Bakery.

The afternoon will hold some photo opportunities on the beach before dinner at the Restaurant.

That's not a bad day one... More to come on day two.
We use Hema Maps, General Tyres, TJM Products, Goal Zero Solar, Xray Lights and have a great relationship with our friends at Kingfisher Bay Resort.

Monday, 1 December 2014

Keeping your beach drive fun.


Staying safer on the beach.

Remember - The beach is a habitat and a highway.

If you drive in such a way to look after your passengers, you are looking after your car, and you are looking after the terrain/environment as well.

Big run ups, and spinning tyres may look impressive on YouTube, but they are unnecessary, unsustainable and dangerous.
Successful sand driving is 4 things.


Beach driving group1.       Planning – You should never be caught unawares by the tide, tide tables are published well over a year in advance, there are many weather or tide apps that are freely available for your phone or device.
a.       Plan to travel within 2 hours of low tide.
b.      Allow for strong winds to increase the effective height of the tide.
c.       Be realistic with how much you can see or do in one day.
d.      Don’t rush, the beach is a highway, aircraft landing strip, fishing mecca, playground and habitat – slow down.

2.       Clearance – you either have this on any given day, or you don’t. You can certainly improve your vehicle’s clearance – legally, but about 75mm for the body work and 25mm for the running gear through a combination of suspension and tyre size increases. Having appropriate clearance under the vehicle makes for less stressful motoring and allows you to choose the best line through the inland tracks without fear of becoming ‘grounded’.
a.       Consider if upgraded suspension or taller tyres is appropriate for your needs.
b.      Consider replacing the flimsy original ‘bash’ plates with more substantial ones.

3.       Traction – or “Getting your tyre pressure right”. Here at the Australian Offroad Academy we do not throw psi figures around, or at you. We say “Go as low as you need to go, but no further”. Getting tyre pressure right depends on;
a.       The size, type and construction of your tyre.
b.      How heavy your vehicle is.
c.       The conditions on the day.

There is no ‘best pressure’ there is only the pressure that allows you to traverse the terrain (in this case sand) with the minimum loss of traction (spinning wheels) on any given day.

4.       Torque – it’s torque that allows your 4x4 to pull through the softer bits of sand… It’s torque that makes your wheels turn when the resistance increases. You get torque right by getting your gears right.
a.       There is nothing wrong with using Low Range on the inland tracks
b.      There is nothing wrong with using Low Range on the beach when the going gets tough.


Beach driving is a special experience, it’s great fun on its own but it also allows us to access many other forms of recreation. It doesn’t need to be scary, or dangerous.

Top Ten Take-away Tips

  1.   Plan your visit, get your permit and a map, be realistic, understand the tides.
  2.   Inspect, (replace if necessary) and pack your recovery gear, clean rubbish and unnecessary stuff from your 4x4.
  3.  Try to avoid roof loading, or at least plan to only put light, bulky things on the roof.
  4. Get your tyre pressures right – ask the locals what conditions have been like
  5. Enter the beach with caution – select low range for beach entries and exits – maximise torque while minimising speed in this ‘bottleneck’ area.
  6. Be prepared to adjust your tyre pressures, up or down.
  7.  Maintain a careful watch, there is no driving environment more dynamic, look out for animals, children, fishing gear, planes, washouts, other traffic and more.
  8.  Be aware of speed limits but drive to the conditions (this often means traveling well under the posted limit.
  9.   Take care of your crew – seatbelts are not optional.
  10. Take heaps of photos, have a great time, and tell all your friends how lucky you are to be able to drive on our fabulous beaches.